
Edited: October 21, 2025
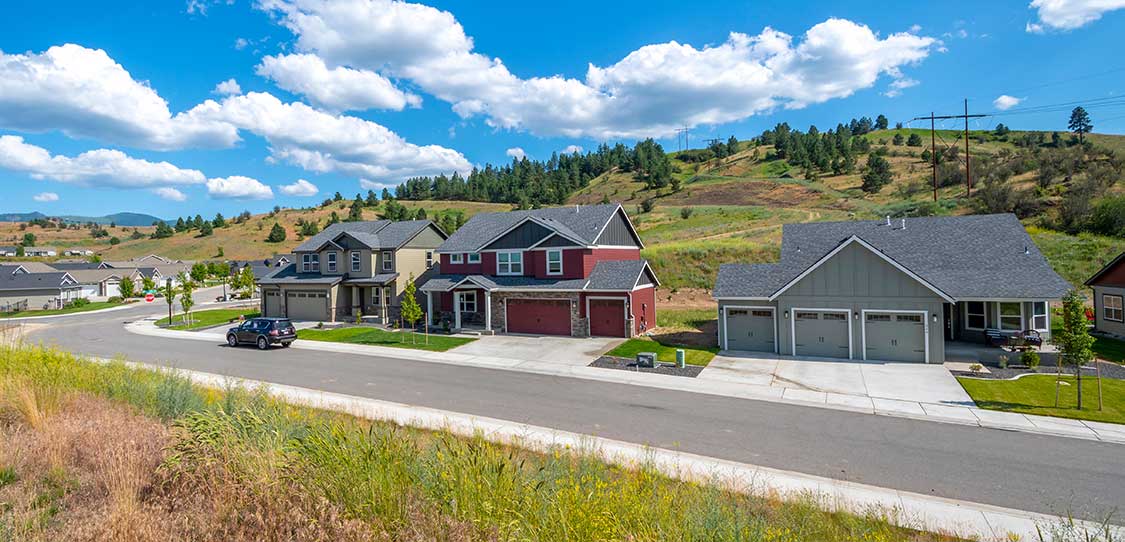
Cold snaps in the Inland Northwest can arrive fast and hit hard. Whether you’re in Spokane, Liberty Lake, Cheney, or Coeur d’Alene, a few smart steps before and during freezing weather can keep your pipes flowing and your home dry. Use this guide to winterize confidently, prevent frozen pipes, and know when to call Bulldog Rooter for help—day or night.
Why Pipes Freeze Here (And Where They’re Most at Risk)
Our regional mix of wind, temperature swings, and varied home construction creates common weak spots. Pipes are most vulnerable in:
- Unheated spaces: crawl spaces, garages, attics, and unfinished basements.
- Exterior walls & rim joists: especially behind kitchen and bathroom cabinets.
- Long plumbing runs: additions or bonus rooms with undersized/under-insulated lines.
- Outdoor fixtures & lines: hose bibs, irrigation, shop/shed plumbing, and utility sinks.
Prevention focuses on two goals: keep heat near the pipe and keep cold air out.
10 High-Impact Steps to Prevent Frozen Pipes
1) Insulate Exposed Pipes
Wrap pipes in unheated areas with foam pipe insulation sized to the pipe. Seal seams and elbow joints. Prioritize runs in crawl spaces, garages, along exterior walls, and under sinks on outside walls.
2) Seal Drafts, Gaps, and Penetrations
Cold air sneaks in through tiny openings around sill plates, vents, hose bib penetrations, and cable/utility holes. Use exterior-grade caulk for small gaps and low-expansion spray foam for larger openings. Weatherstrip drafty doors to garages and basements.
3) Protect Outdoor Faucets (Hose Bibs)
Disconnect and drain hoses. Install insulated faucet covers. If you have interior shutoff valves for exterior spigots, close them and leave the outside faucet open to drain. Consider frost-free sillcocks if you’re upgrading.
4) Maintain Indoor Warmth & Circulation
Keep the thermostat at 55°F (13°C) or warmer—even when you’re away. Open interior doors to balance heat. On exterior-wall sinks, open cabinet doors during cold snaps so warm air can reach the pipes.
5) Smart Drip Strategy During Deep Freezes
When temps plunge (especially with wind), let the cold side trickle at far-run fixtures and those on exterior walls. Moving water is less likely to freeze, and using cold reduces energy load. A thin pencil-lead stream is enough.
6) Use Heat Cable Where Needed (Safely)
For stubborn cold spots, UL-listed, thermostat-controlled heat cable can help. Follow manufacturer directions, use on approved pipe types only, and avoid crossing/overlapping cables. Plug into GFCI outlets.
7) Insulate & Access Crawl Spaces
Close and secure crawl space vents during sustained freezes. Ensure belly insulation is intact under the floor. If lines run low to the ground, add foam sleeves and consider wind barriers to reduce wind-chill effects under the home.
8) Check Pressure & Expansion
Excessive water pressure can strain your plumbing and make freeze damage more severe. A licensed plumber can test your home’s pressure, inspect the expansion tank, and install or adjust a pressure reducing valve (PRV) if needed to keep your system balanced and protected.
9) Service the Water Heater
Flush sediment annually and test the TPR (temperature/pressure relief) valve. A tuned heater recovers faster and helps maintain stable hot-water supply during cold weather.
10) Build a Pre-Storm Checklist
- 48–24 hours out: close crawl vents, stock faucet covers, verify pipe insulation, set thermostat holds.
- 24–12 hours out: open sink cabinets on exterior walls, stage towels/buckets, identify main shutoff valve.
- Overnight/peak freeze: set smart drips, keep interior doors open, avoid big thermostat setbacks.
Special Tips for Rentals, Vacant & Seasonal Homes
- Set thermostat holds to 55°F+ and verify power is on.
- Shut off the main and drain at risk fixtures if the property will be vacant in extreme cold.
- Install water/leak alarms in mechanical areas, kitchens, and baths.
- Leave interior doors open to improve airflow, especially to exterior-wall bathrooms and kitchens.
How to Spot Trouble Early
- Low flow or no water at one faucet—especially on an exterior wall.
- Frost or condensation on exposed pipes in unheated areas.
- Gurgling/odor from drains caused by ice restricting venting.
- Bulges in PEX lines or noisy banging on start/stop (pressure swings).
If you notice any of these, act fast: open the faucet, increase heat/circulation to the area, and avoid open flames or unsafe heaters. If flow doesn’t return quickly—or if you can’t access the line—call our 24/7 team.
Thawing Do’s & Don’ts (If a Pipe Freezes)
- Do: open the affected faucet to relieve pressure.
- Do: warm the space safely: raise the thermostat, use a space heater on a stable surface with clearance, or a hair dryer on low, moving constantly.
- Do: start warming closest to the faucet and work back toward the cold section.
- Don’t: use open flames or torches—major fire hazard and a common cause of burst lines.
- Don’t: leave heaters unattended or placed near combustibles.
If you hear hissing, see water, or suspect a burst, shut off the main immediately and call Bulldog Rooter, our emergency plumbers are available 24/7 to take your call.
When Prevention Isn’t Enough (We’re Here 24/7)
Some freeze risks can’t be solved with insulation alone—hidden lines in walls, long runs to additions, or chronic drafts. Our licensed plumbers can locate and thaw frozen sections, repair breaks, add insulation/heat cable correctly, and recommend permanent fixes for your specific layout. Same-day emergency service is available from Spokane across Kootenai County.
Prevent Problems All Winter with Bulldog Rooter
Want a pro to handle winterization? We can insulate exposed runs, seal drafts, protect hose bibs, add safe heat cable, and check pressure/expansion. If a cold snap still causes trouble, our emergency team can thaw lines and repair damage—fast.
Need help now? Schedule online or call our 24/7 dispatch. We’ll keep your pipes protected—and your winter worry-free.